
Installing Iris
IRIS exists out of a set of Azure resources and templates. During the installation process the Azure resources are created and configured according to the Iris templates. For Iris to gain access to your Azure subscription(s) a Application registration needs to be created with the required roles.
Preparations
To create an Application registration use this link to your Entra environment. If you do not have access please acquire access or get support by someone who does have access before continuing.
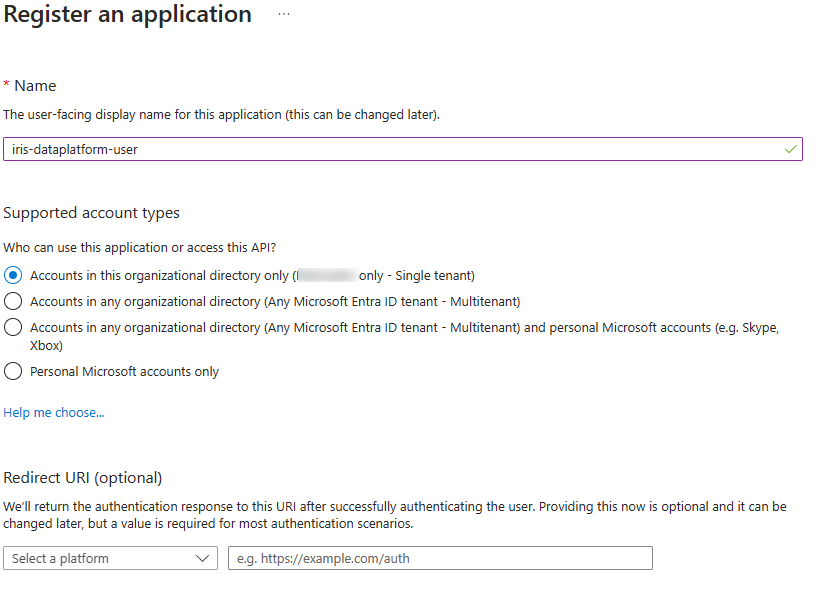
Using the link mentioned in the previous paragraph start to create the Application Registration. Name the application as you wish and according to your own naming convention. In this example the application is named iris-dataplatform-user.
Leave the account type setting on Single tenant and leave the redirect setting empty. Click on “Register” to continue.
After clicking “Register” you will be redirected to the Azure portal main screen while receiving a message that the application has been created successfully.

After this you can find your application in your Entra admin portal or by going to this link and searching for the application name used at creation. If you cannot find the application, please make sure you have selected “All applications“ above the search bar.
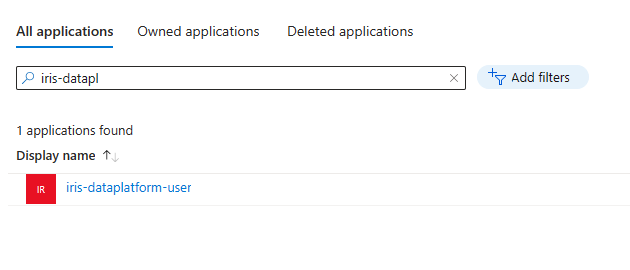
Once the application is found, please open it by clicking on the name and then navigate to the API Permissions in the menu on the left.
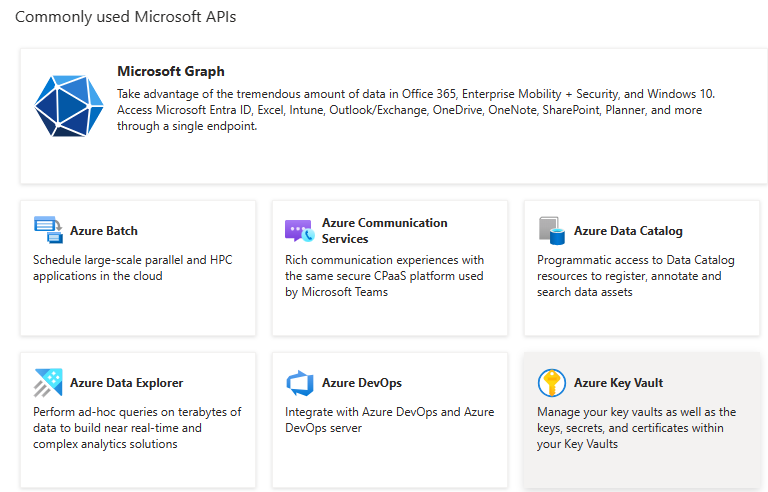
Click on “Add permissions” and add the “Azure Service Management” permission. To do so, locate the Azure Service Management tile in the list of services and select it.
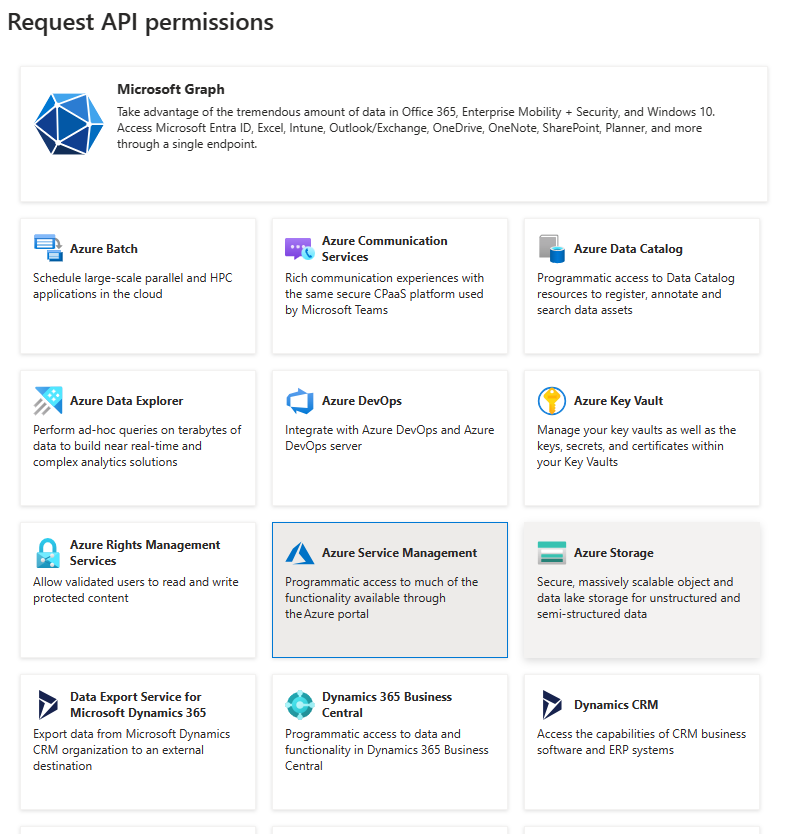
Once selected a new screen will open, letting you select the related permissions. Select “User impersonation“, at the time of writing this is the only option.

Now click “add permission” to complete. Repeat this process for the Azure keyvault and Azure DevOps permissions.
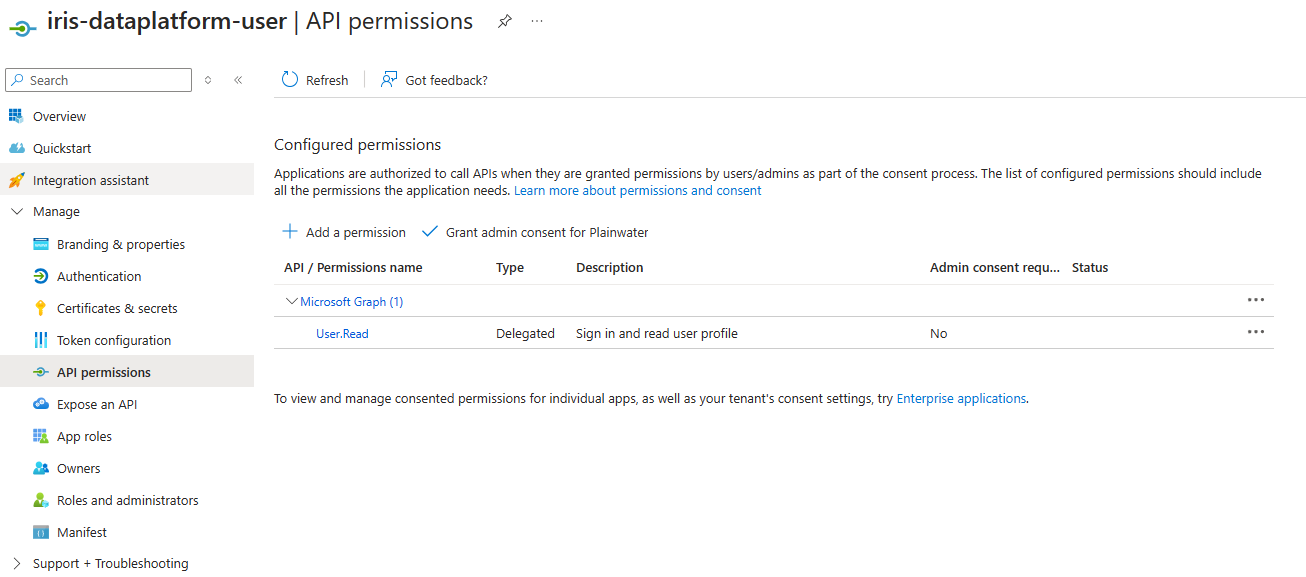
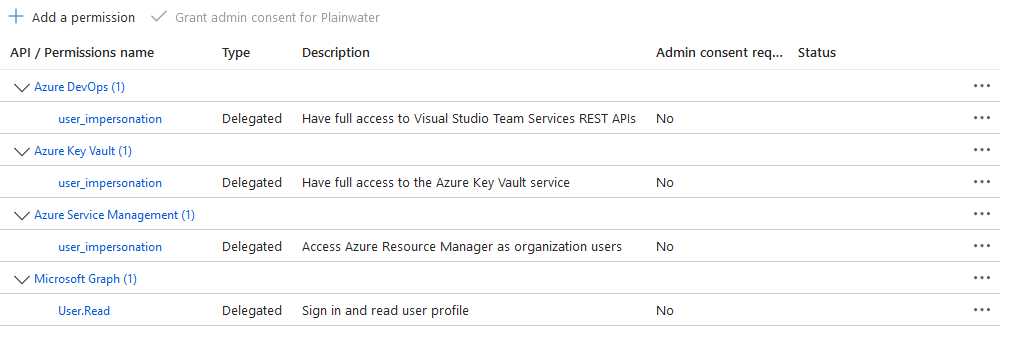
Once done, your list of permissions should look like this.
Once all permissions are in the list, continue to navigate to the Certificates & Secrets page in the menu on the left.
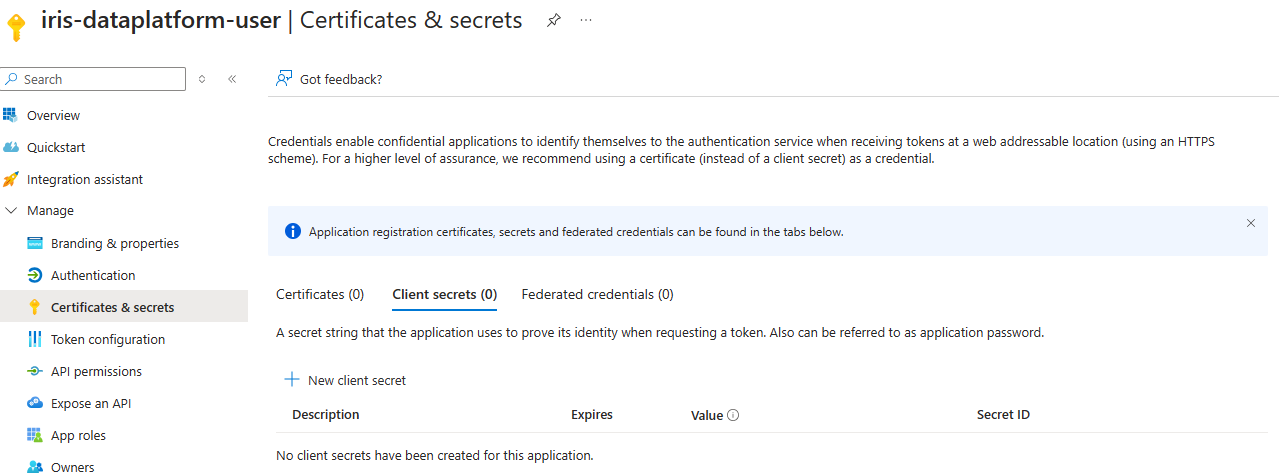
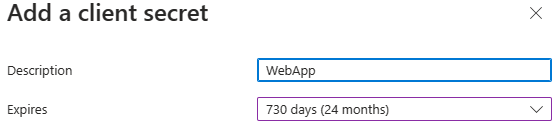
A secret needs to be generated by clicking on “New client secret“ and giving the secret a name ( i.e. WebApp) . A validity needs to be selected of a maximum of 24 months. We recommend setting this to 24 months, but company policies might apply within you organization.
A new secret will be generated in the list, please copy the value and save it in a secure place. this value is needed later on in the installation. The value is only visible now and cannot be found after you leave this page! if you failed to save it, please delete the secret and generate a new one.

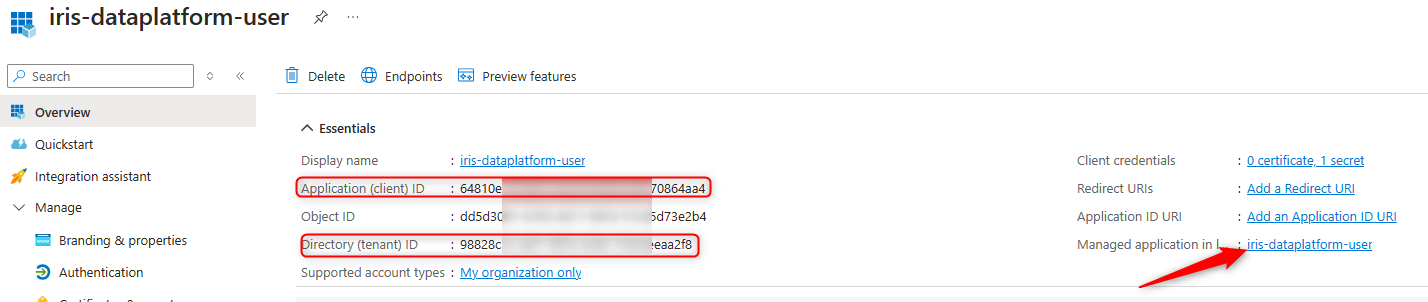
The installation requires other values, so lets acquire them. Go to the “Overview” page of the application using the menu on the left.
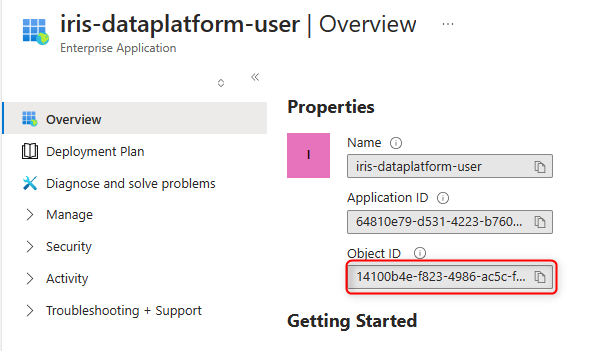
Copy the Application (client) ID and the Directory (tenant) ID and save them in a secure storage for later. Now click on the Managed Application and locate the ObjectID ( this is not the same as the Object ID in the first screen! ). Also copy that value and store it for later.
The application registration is done, now we need to create the subscription(s) and resource groups.
Iris can handle many different types of setups in Azure. We now need to decide what the setup will be for this installation.
The questions to answer are:
How many environments do we need? ( dev, test, acceptance, quality, prod )
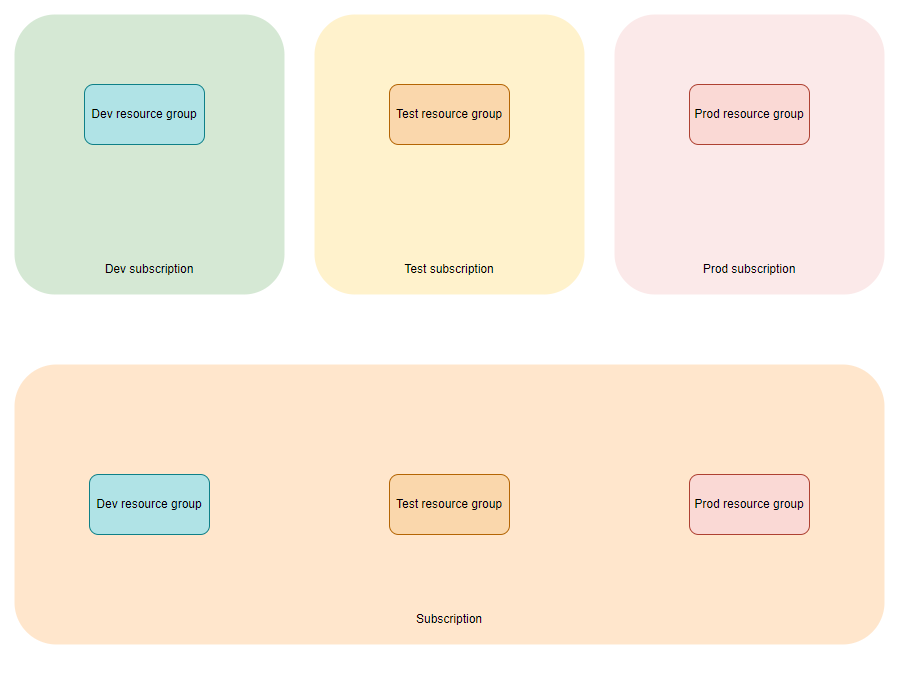
Does it all land in a single subscription, does each environment have its own subscription or are some combined and others alone?
Does it all land in a single resource group, does each environment have its own resource group or are some combined and others alone?
We recommend to use 2 or 3 environments, have each environment have its own resource group and place the resource groups in a single subscription or late each have its own subscription.
If required, create one or more subscription(s), please refer to the Microsoft documentation for more details. After creating the subscriptions, please check the resource providers according to this document.
If you have dedicated subscriptions for Iris and are willing to add the application as contributor of the subscription, you can skip the following steps and continue to the installation. Iris will create the resource groups for you.
If required, create one or more resource groups, please refer to the Microsoft documentation for more details. Please use the environment names in the name of the resource group for development and production we require you to use “dev” and “prod”. Other environments can be named freely although we advise using the following:
dev
test
acc
quality
prod
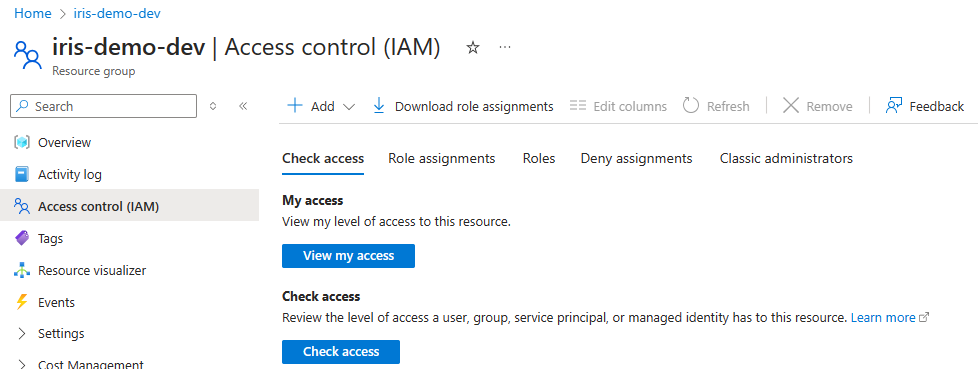
Once the subscriptions and resource groups have been created, please add the application crated earlier as Contributor to the resource groups. Do this by opening the resourcegroep and clicking on Access control in the menu on the left.
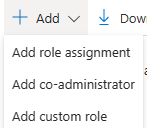
Now click on Add and select Add role assignment from the list
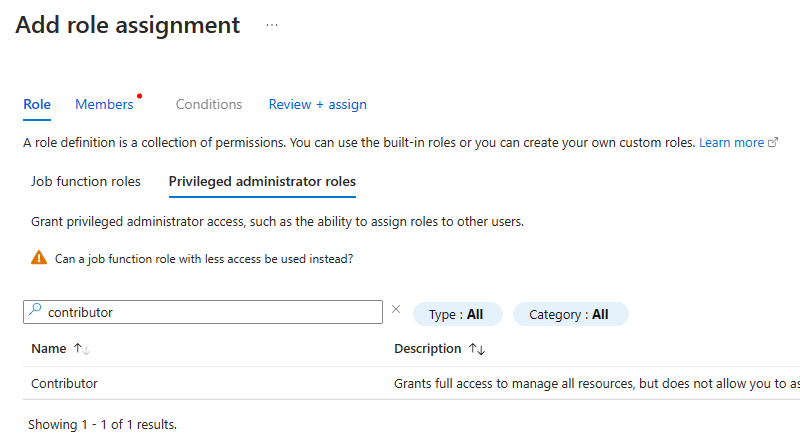
Select “Privileged administrator roles“ and select Contributor from the list.
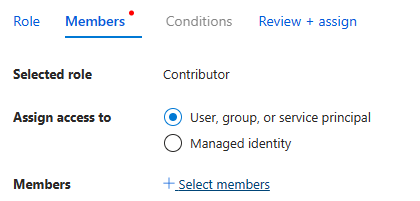
Click next to continue. In the next screen select “Select members” and find your application in the list.

Once you’ve found it, select it and click “Select” at the bottom of the page. you have now added you application to the members of the Contributor role.
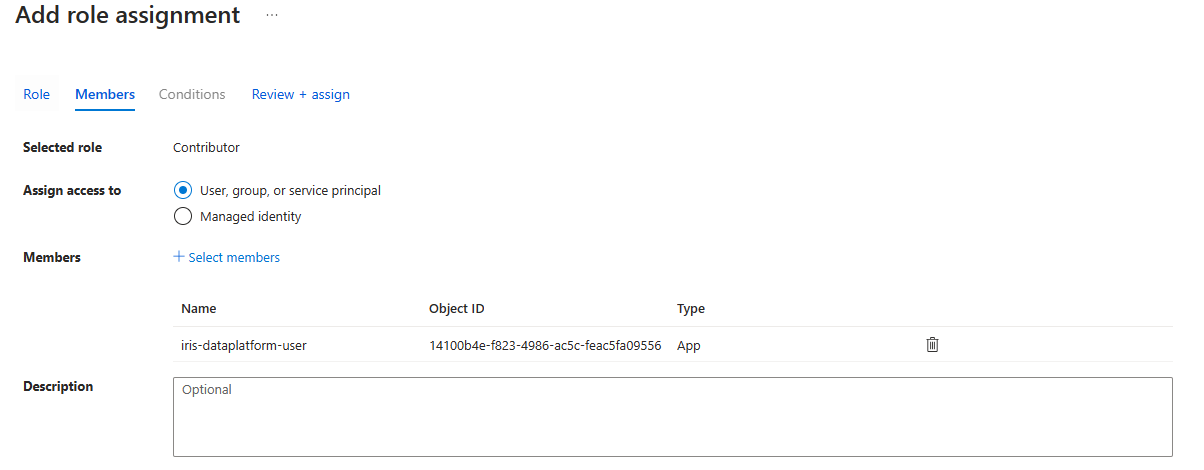
Finish this step by clicking “Review + assign” at the bottom, twice.
Installation
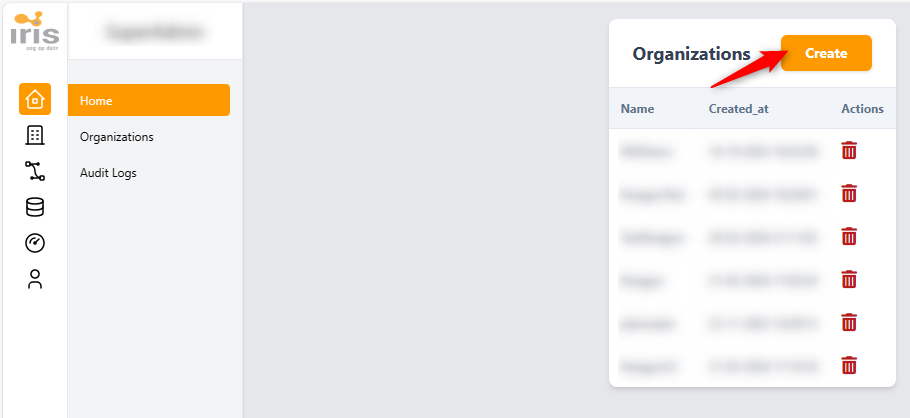
Go to Iris web and create a new organization.
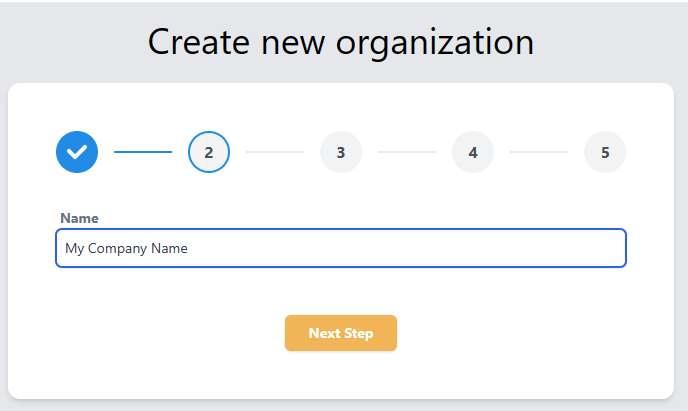
The Iris installation starts with the Organization name, this name needs to be at least 2 characters long and can only contain letters and spaces ("/^[a-zA-Z ]*$/").
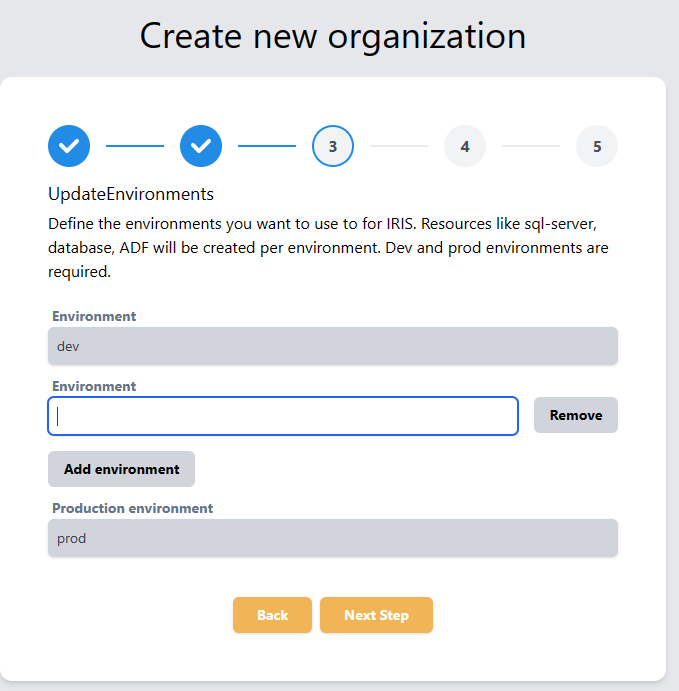
Iris has 2 or more environments. The 2 mandatory environments are called "dev" and "prod". Depending on your license, you can place several environments between dev and prod. For example, consider "test" & "acceptance".
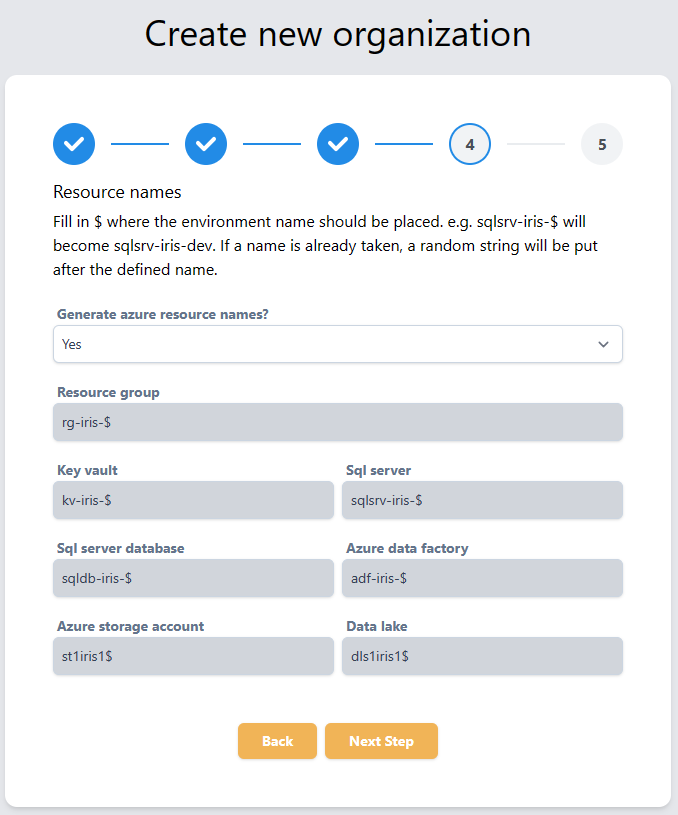
The names of your resources can be fully generated or semi generated. The fully generated proces creates resources names according to the Microsoft naming convention. If a name is not available it will be postfixed with a unique string.
The semi generated proces lets you change the names, please remember to always use the $ in the name beacuse this will bereplaces with the environment. If the environment is not part of the name, naming conflict will accure between dev, prod and al other environments. This will be solved automatically by applying a postfix to the name, but it makes recognizing the different resources difficult.
If you have already created the resource groups, make sure the names match the resource groups created in the preparations.
For the final step we need the values saved in the preparations. Fill the first 4 fields with the following values:
Active directory ID → Directory (Tenant) ID
Application Object ID → Object ID
Client ID → Application (client) id
Client secret → Value from Secret
Then choose if you choose to have a single of multiple subscriptions. If you have multiple subscriptions ( no matter in what configuration ), select Yes.
Fill out the subscription ID for each environment, if you selected no in the previous step the ID will be copied over from dev automatically.
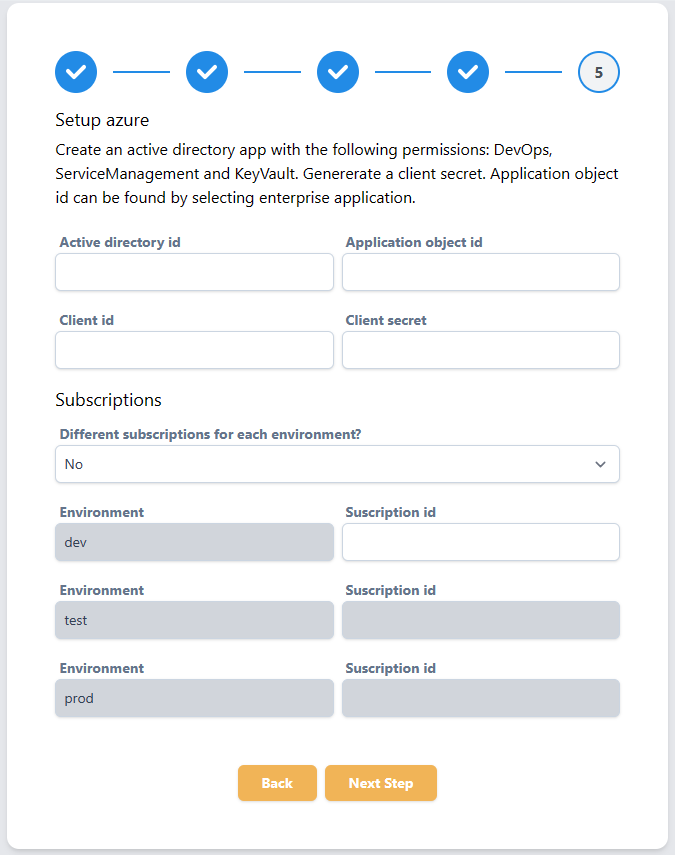
Click next to continue.
Check if you created the resource groups correctly and if the correct roles have bene assigned.
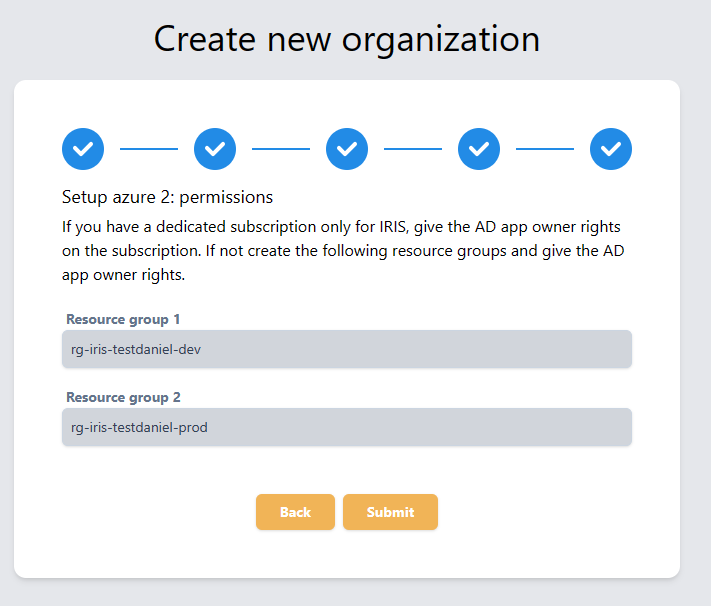
Click submit to finish the process, a status will be shown to indicate the process is running
